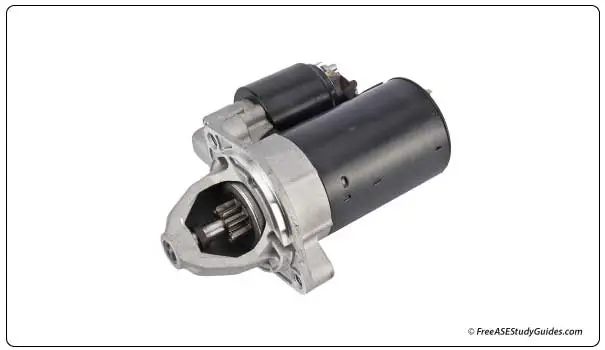
Starter Current Draw Test

Inspect the starting system for any physical defects or loose connections. Perform a starter current draw test after the battery is inspected and fully charged. Bring the engine to normal operating temperature before performing this test because a cold engine requires more current than a warm engine.
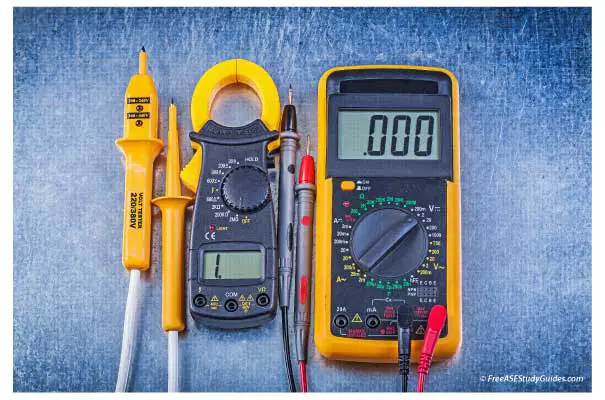
This test requires the specifications of the vehicle. Use an ammeter/voltage meter to test the starter's current draw.
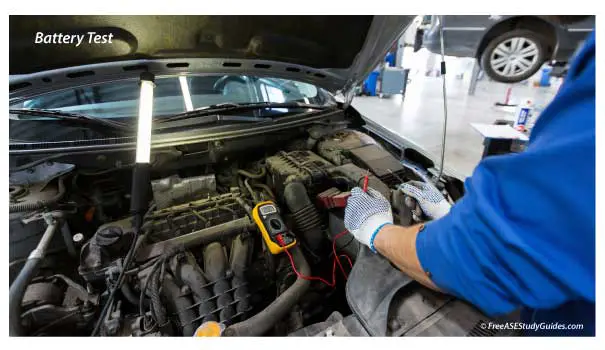
- Connect the test leads to the positive and negative terminals and then connect the clamp-on amp pickup around one of the battery cables.
- Set the voltage meter to Int 18V and adjust the ammeter to read zero.
- Disable the fuel or ignition to prevent the engine from starting during the test.
- Observe the tester's ammeter and voltmeter as you crank the engine.
- Never crank the engine for more than 15 seconds, and allow the starter to cool for 2 minutes between cranks.
Observe the voltage and the amperage at the same time. The voltage should remain at or above specifications while cranking the engine. High current draw and low cranking speed indicate a faulty starter or possible engine problems. Low cranking speed and low current draw indicate excessive resistance in the starter circuit.
Slow-cranking and high current draw typically indicate worn bearings or bushings inside the starter. Worn bushings result in an off-center armature, resulting in poling that can throw off the alignment of the starter's magnetic fields.